Five steps to create and test a custom stablecoin


Deploying a stablecoin can be daunting. It's a little like setting up your first website. The first time you do it, it's a little weird. After that, it's no big deal.
Stablecoins are like that, too, so we wanted to create an easy-to-start guide for deploying your first stable, using it, and setting the price. For this guide, we are going to use DZUSD. If you're going through this with your stablecoin, remember to replace DZUSD with your stablecoin ticker.
Step 1 - Deploy your new stablecoin
Log into the Brale dashboard, click + New Stablecoin, and deploy it. Type in your primitives, fund with $1 USDC, and you're off. The video below is perfect, because it displays the creation of DZUSD so you can see this stablecoin from creation to wherever it is when you find this article.
This reserves the namespace DZUSD. It also creates the smart contract and the first ticker, name, and logo associations. This will get reused everywhere. It's a bit like registering a domain name. Once the stablecoin is created, we'd suggest doing a $100 transfer into your stablecoin from a wire, ACH, or other stablecoin. We'll touch on why $100 in step 5.
It is helpful to have comparisons when creating a new stablecoin. Here is how the ticker/name plays out with popular stablecoins and ones created at Brale.
| Ticker | Name | Backing currency |
|---|---|---|
| USD Coin |  USD USD | |
| Stable Coin | USD | |
| Pax Dollar | USD | |
| PayPal Dollar | USD | |
| Day Zero Dollar | USD |
Step 2 - Claim the blockchain explorer asset
Why it matters
This effectively claims the project on the scanner. This is important because as your project grows, it will help people find your project and return to any associated materials. In this case, DZUSD leads back to brale.xyz/events.
This is important because this will be the ticker's first external registration. This also makes the logo something that scanners, wallets, and other token lists can index.
Email [email protected] and insert your stablecoin information into this template:
Subject:
[REQUEST]: Claim my new stablecoin profile
Body:
Ticker: DZUSD
Name: Day Zero Dollar
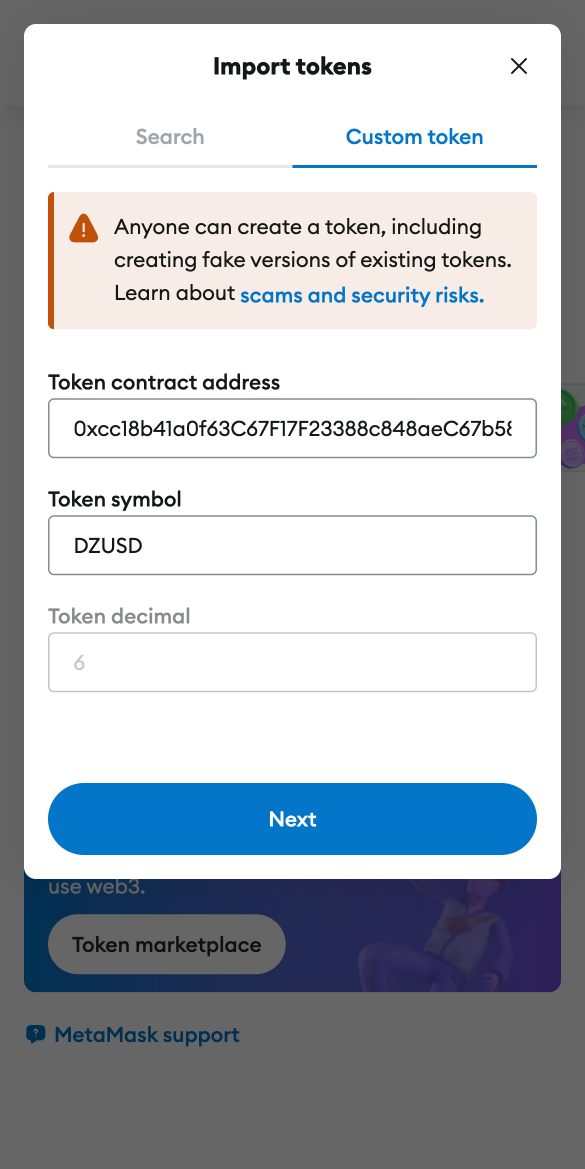
Contract: 0xcc18b41a0f63C67F17F23388c848aeC67b583422
Explorer Link: https://basescan.org/token/0xcc18b41a0f63C67F17F23388c848aeC67b583422
Here are some examples of claimed profiles:
| Ticker | Name | Link |
|---|---|---|
| USD Coin | View on explorer | |
| Stable Coin | View on explorer | |
| Day Zero Dollar | View on explorer |
Step 3 - Add your stablecoin to your wallet
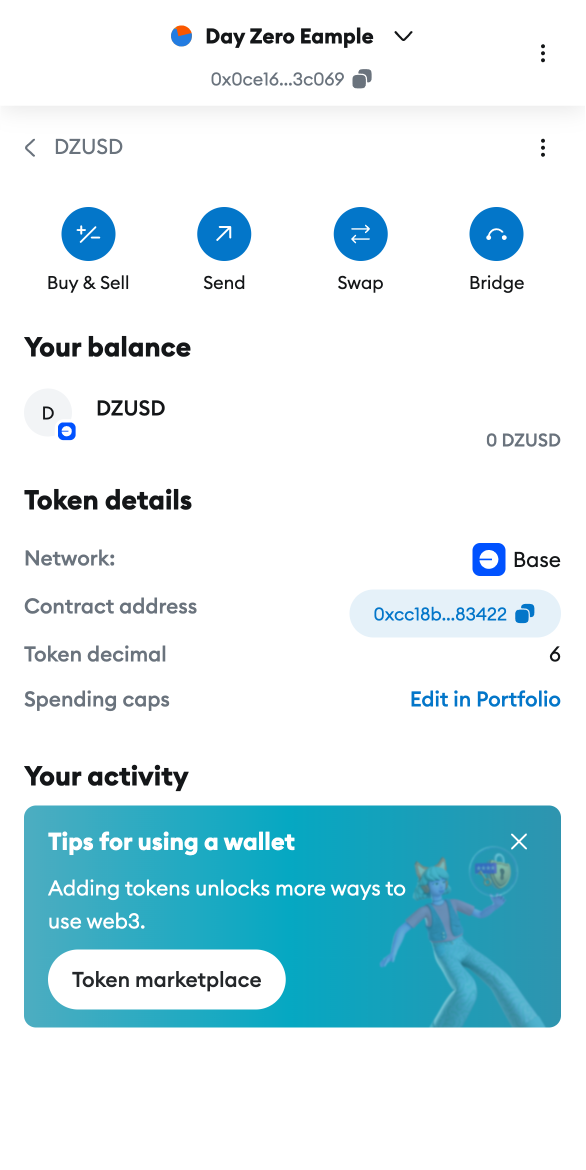
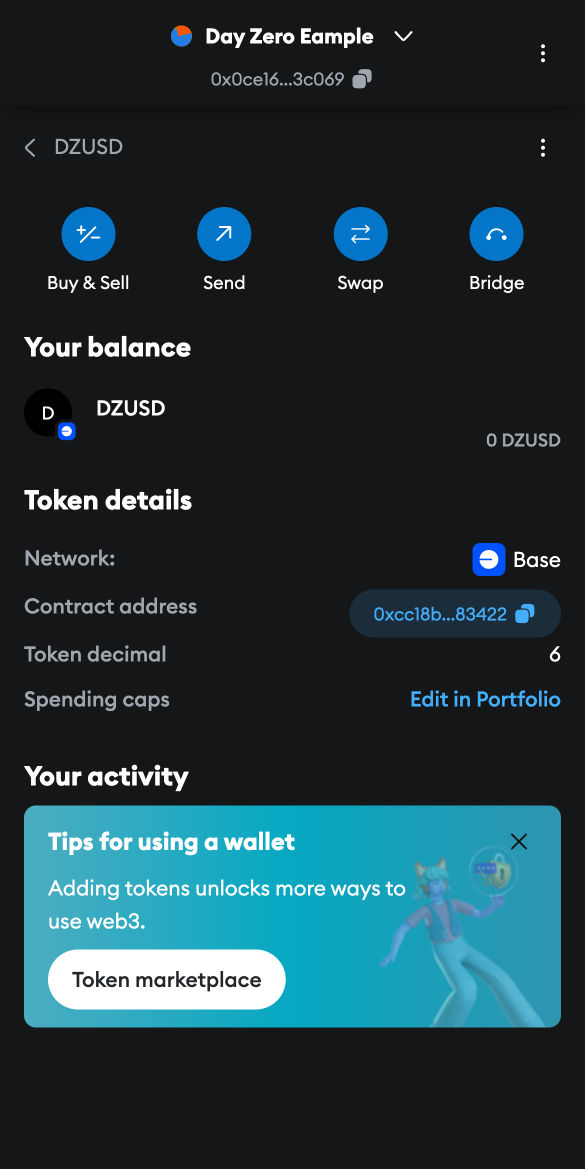
You can add this in two ways. First, visit your newly updated blockchain page and add it to your favorite wallet. If you're waiting for the page to update, you can get the smart contract from the Brale Dashboard.
Every asset has its smart contracts linked, so this is where you can find it when logging in.
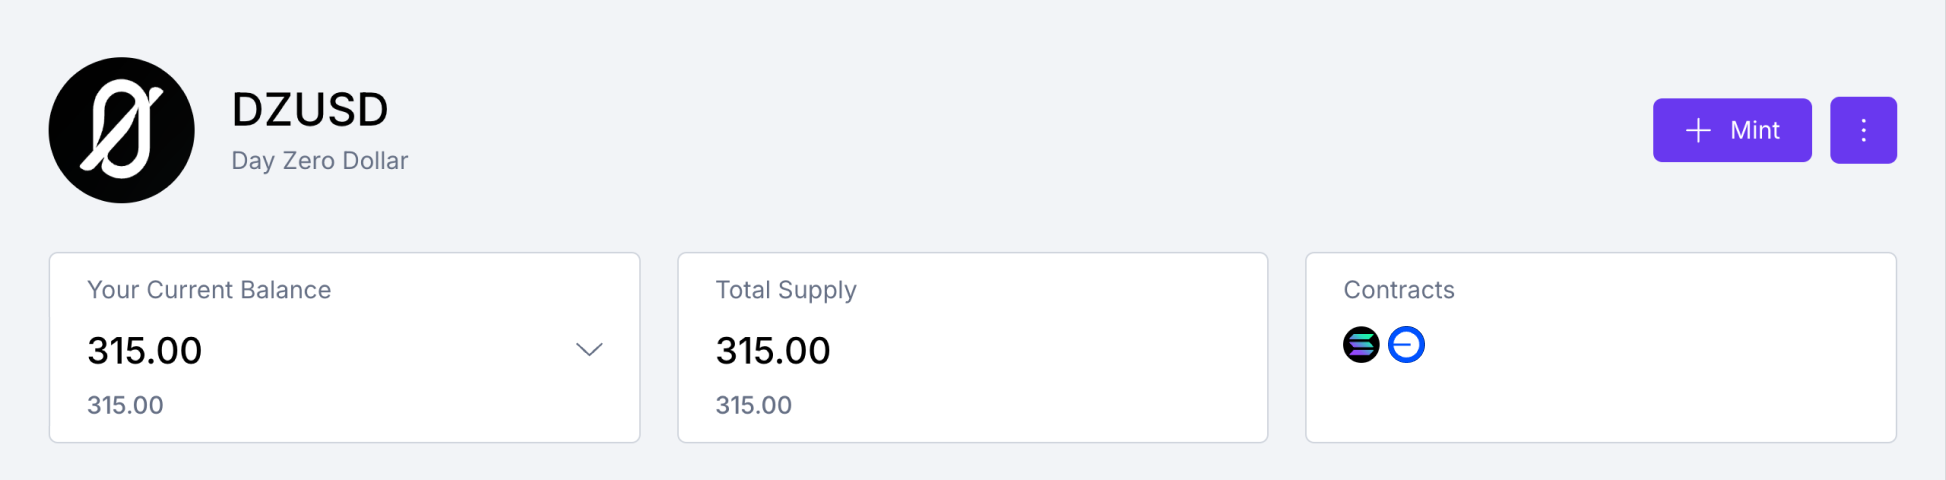

DZUSD smart contract on Base is 0xcc18b41a0f63C67F17F23388c848aeC67b583422.
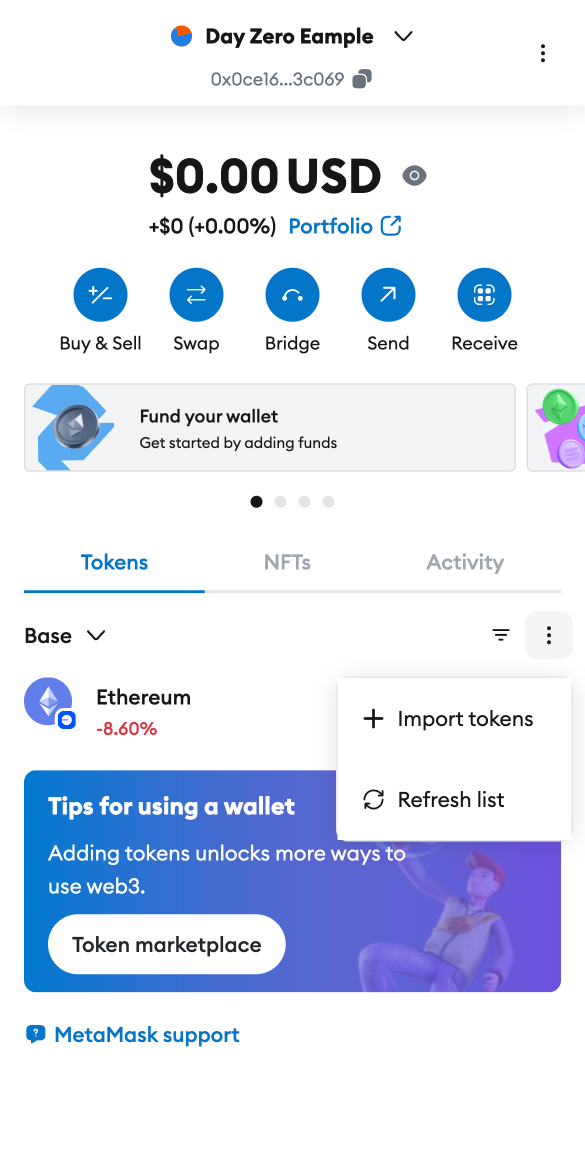
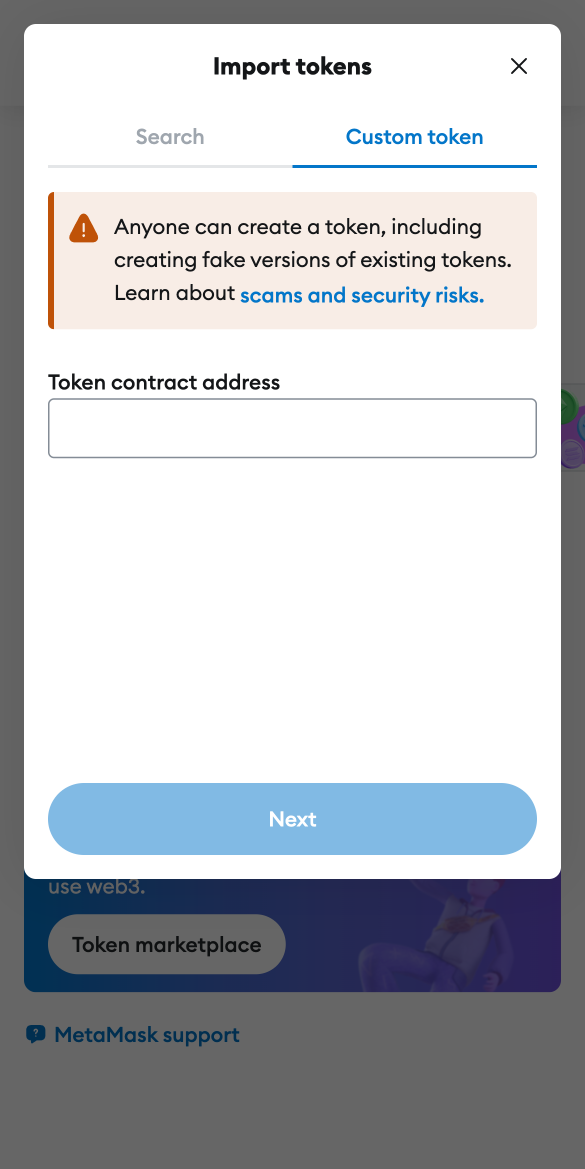
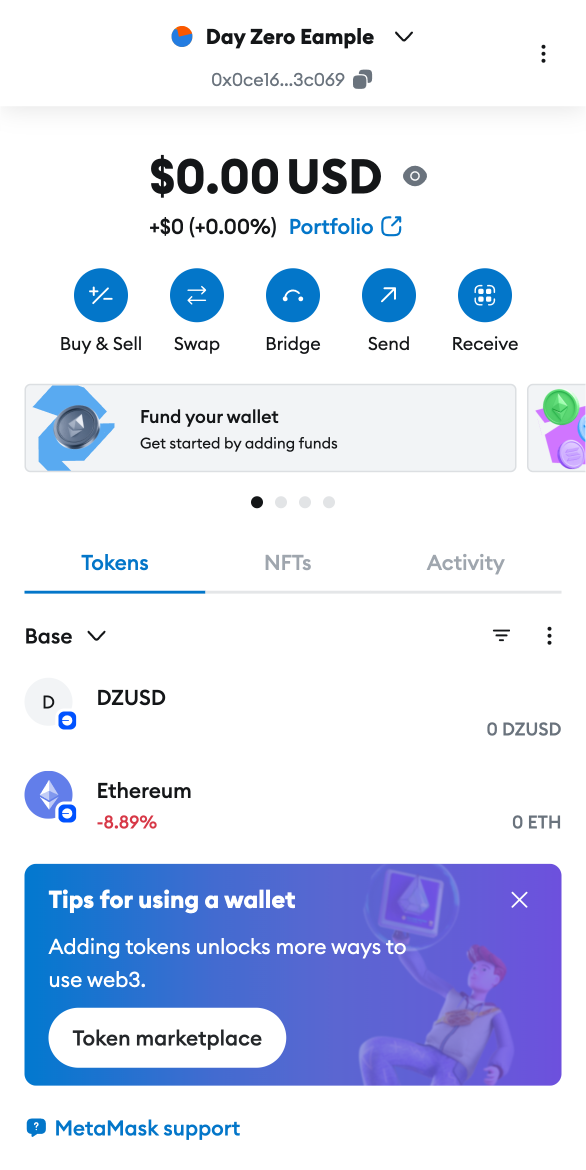
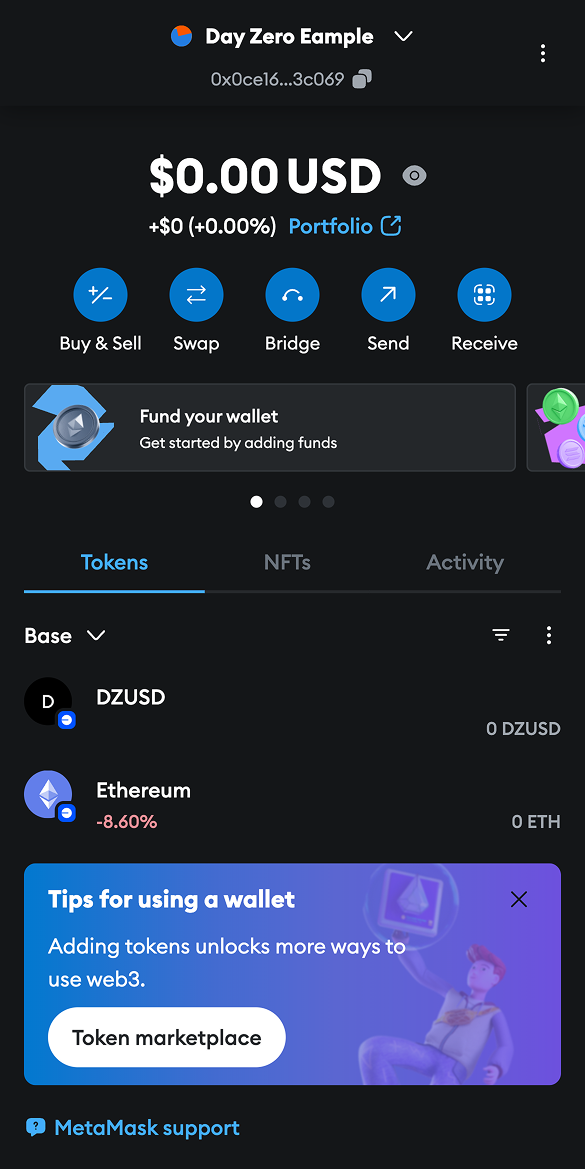
Then, adding it to your wallet, such as MetMask, is extremely easy. Copy the contract address and click + Import tokens in MetaMask. Select Custom token, and add your smart contract address.


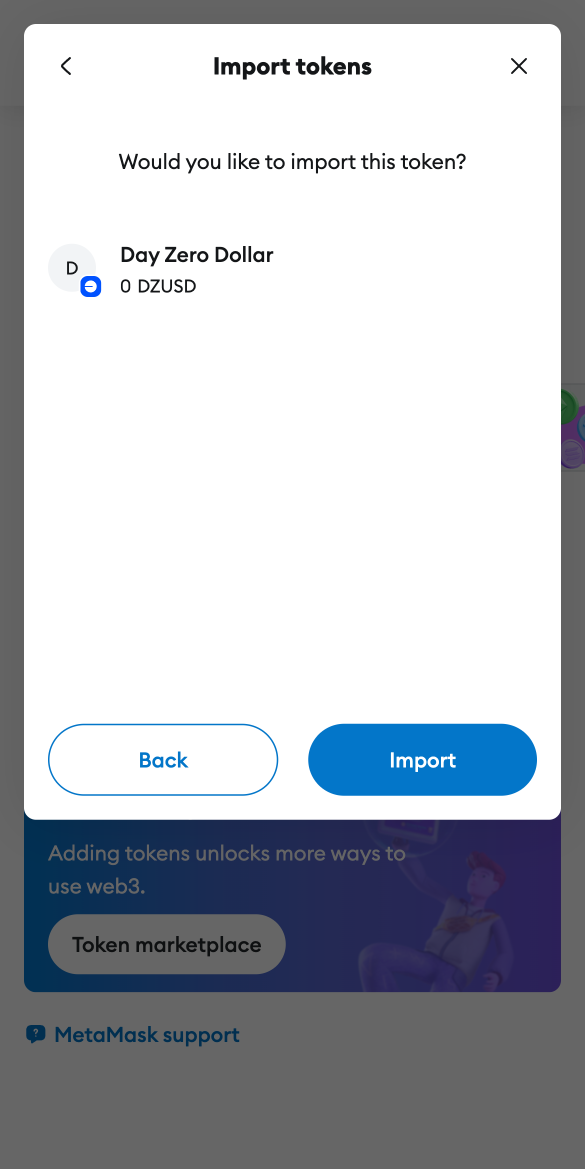
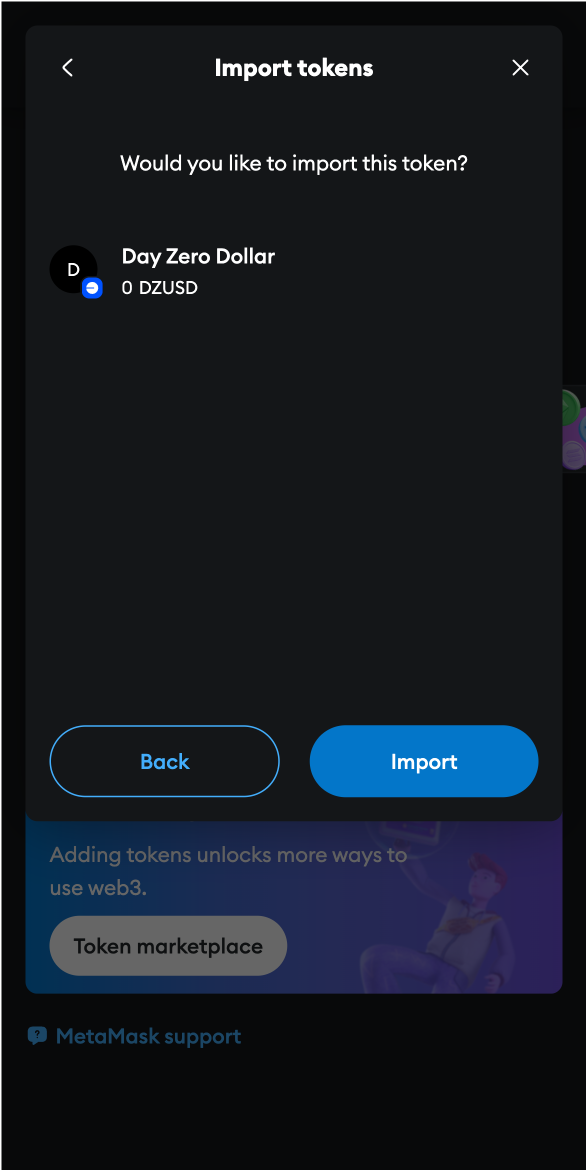

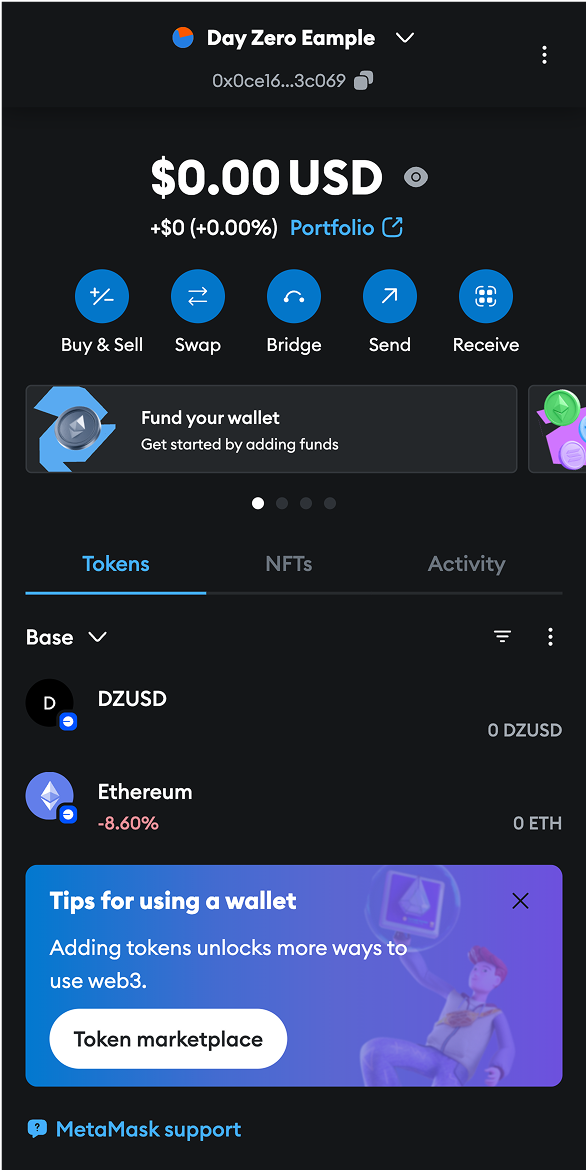
Once imported, you can see the asset in the wallet. There isn't anything in there yet, but now the wallet knows to look for your stablecoin smart contract when you open it.
Why it matters
Your stablecoin will not show up in the wallet by default. Wallets like MetaMask require you to add this manually, which ensures your asset shows up in the wallet with the right logo.
Step 4 - Build a token list for your stablecoin
For all of the chains you deploy your token on, we suggest having a token list prebuilt somewhere on your website or GitHub repo. Once deployed, your contact address and logo won't change. This exercise is important because, in the future, you'll run into applications that require you to add your tokens, and it's much faster to do it once in a list.
Here is an example of DZUSD token list:
{
  "name": "Day Zero Token List",
  "timestamp": "2025-03-03T00:00:00.000Z",
  "version": {
    "major": 1,
    "minor": 0,
    "patch": 0
  },
  "tokens": [
    {
      "chainId": 8453,
      "address": "0xcc18b41a0f63C67F17F23388c848aeC67b583422",
      "name": "Day Zero Dollar",
      "symbol": "DZUSD",
      "decimals": 18,
      "logoURI": "https://github.com/Brale-xyz/dayzero/blob/main/DZUSD/dzusd.png",
      "extensions": {
        "website": "https://brale.xyz/events"
      },
      "tags": ["stablecoin"]
    },
    {
      "chainId": 7565164,
      "address": "GjzwgGxhxa6VVVR8iFQ3QnzH89SNXxHgfY1xhCiSv5a8",
      "name": "Day Zero Dollar",
      "symbol": "DZUSD",
      "decimals": 9,
      "logoURI": "https://github.com/Brale-xyz/dayzero/blob/main/DZUSD/dzusd.png",
      "extensions": {
        "website": "https://brale.xyz/events"
      },
      "tags": ["stablecoin"]
    }
  ]
}
We've also made this available on GitHub. You can find a list of the chain IDs on chainid.network's comprehensive directory to use for best practice. We've also compiled Brale's curated list of supported chain IDs if you find the large list overwhelming. It's also worth noting that in your token list IPFS is a popular option for your logo. We did not do that for DZUSD for the sake of this example.
Token lists should be valid JSON, and you can test by using a free JSON testing tool. JSONLint is a solid one.
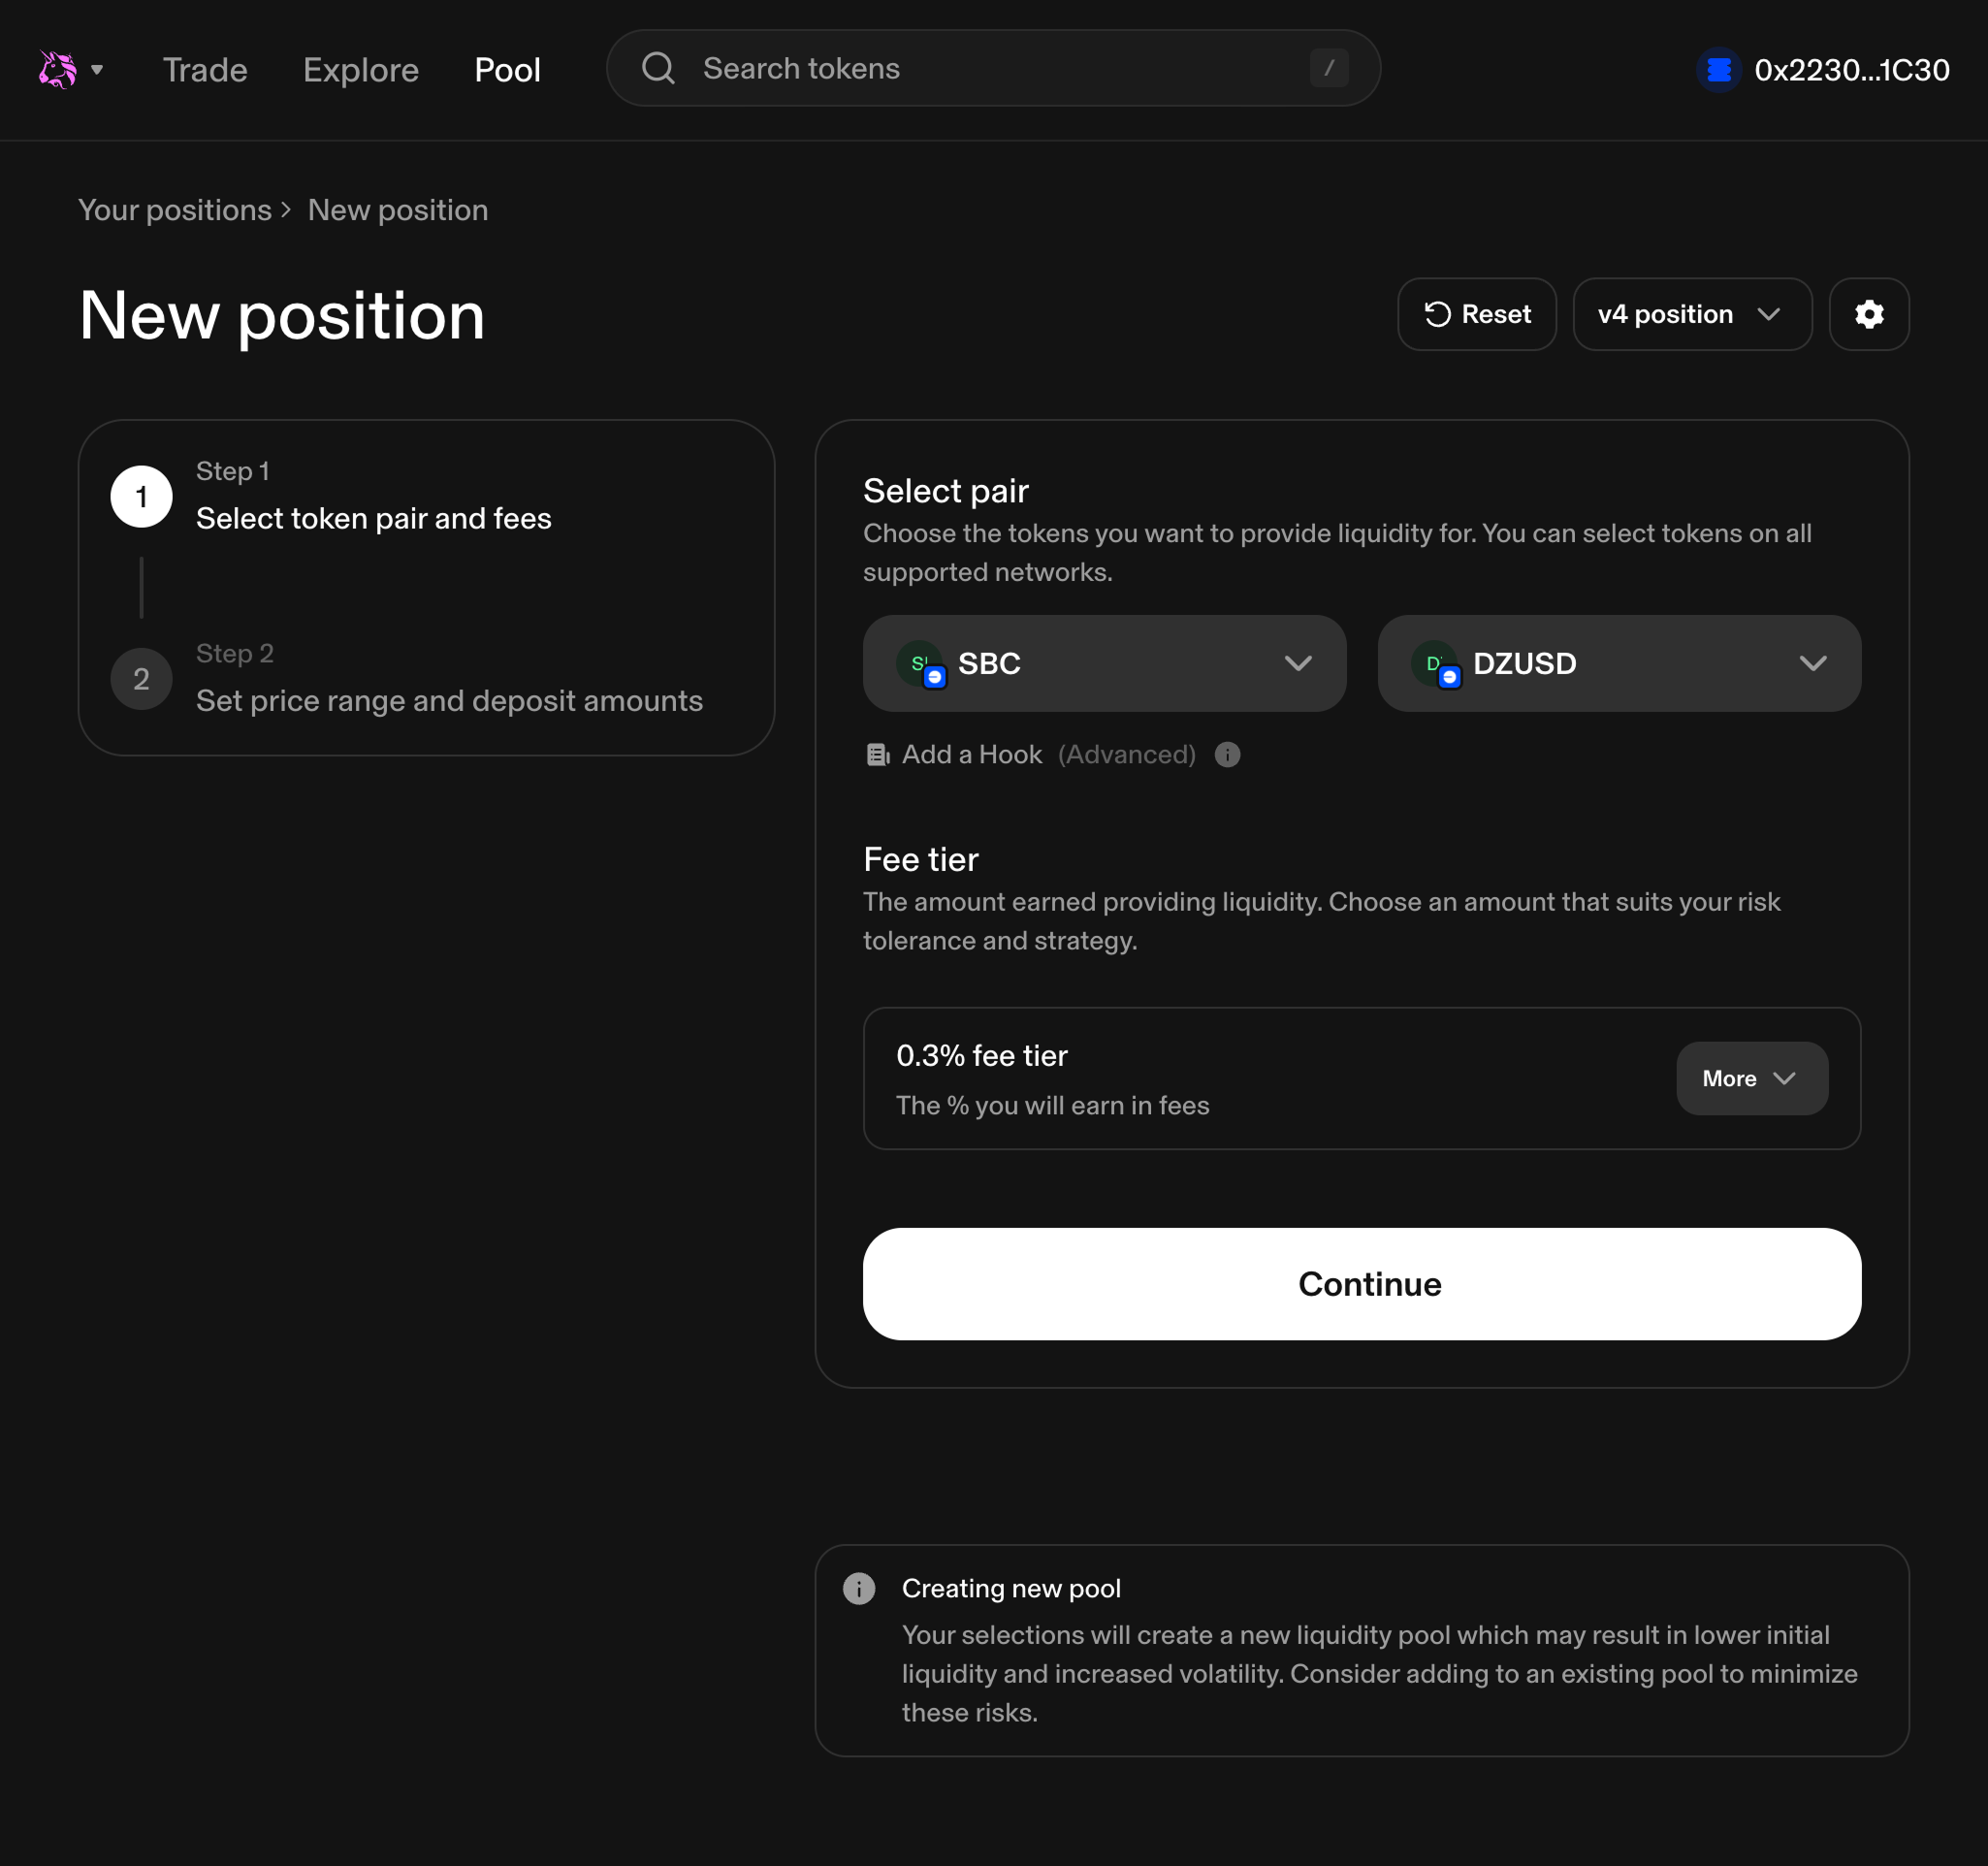
Step 5 - Seed a small liquidity pool
| Side 1 | 0xcc18b41a0f63C67F17F23388c848aeC67b583422 | |
| Side 2 | 0xfdcC3dd6671eaB0709A4C0f3F53De9a333d80798 |
Now that you've got your smart contracts, fund your external wallet with $50 or so of each stablecoin. This is important because you want to have a balanced pool. This ensures that your first swaps will be as close to $1 to $1 as possible.
To use Uniswap, create a pool and add your smart contracts. It looks like this when using DZUSD and SBC on Base:
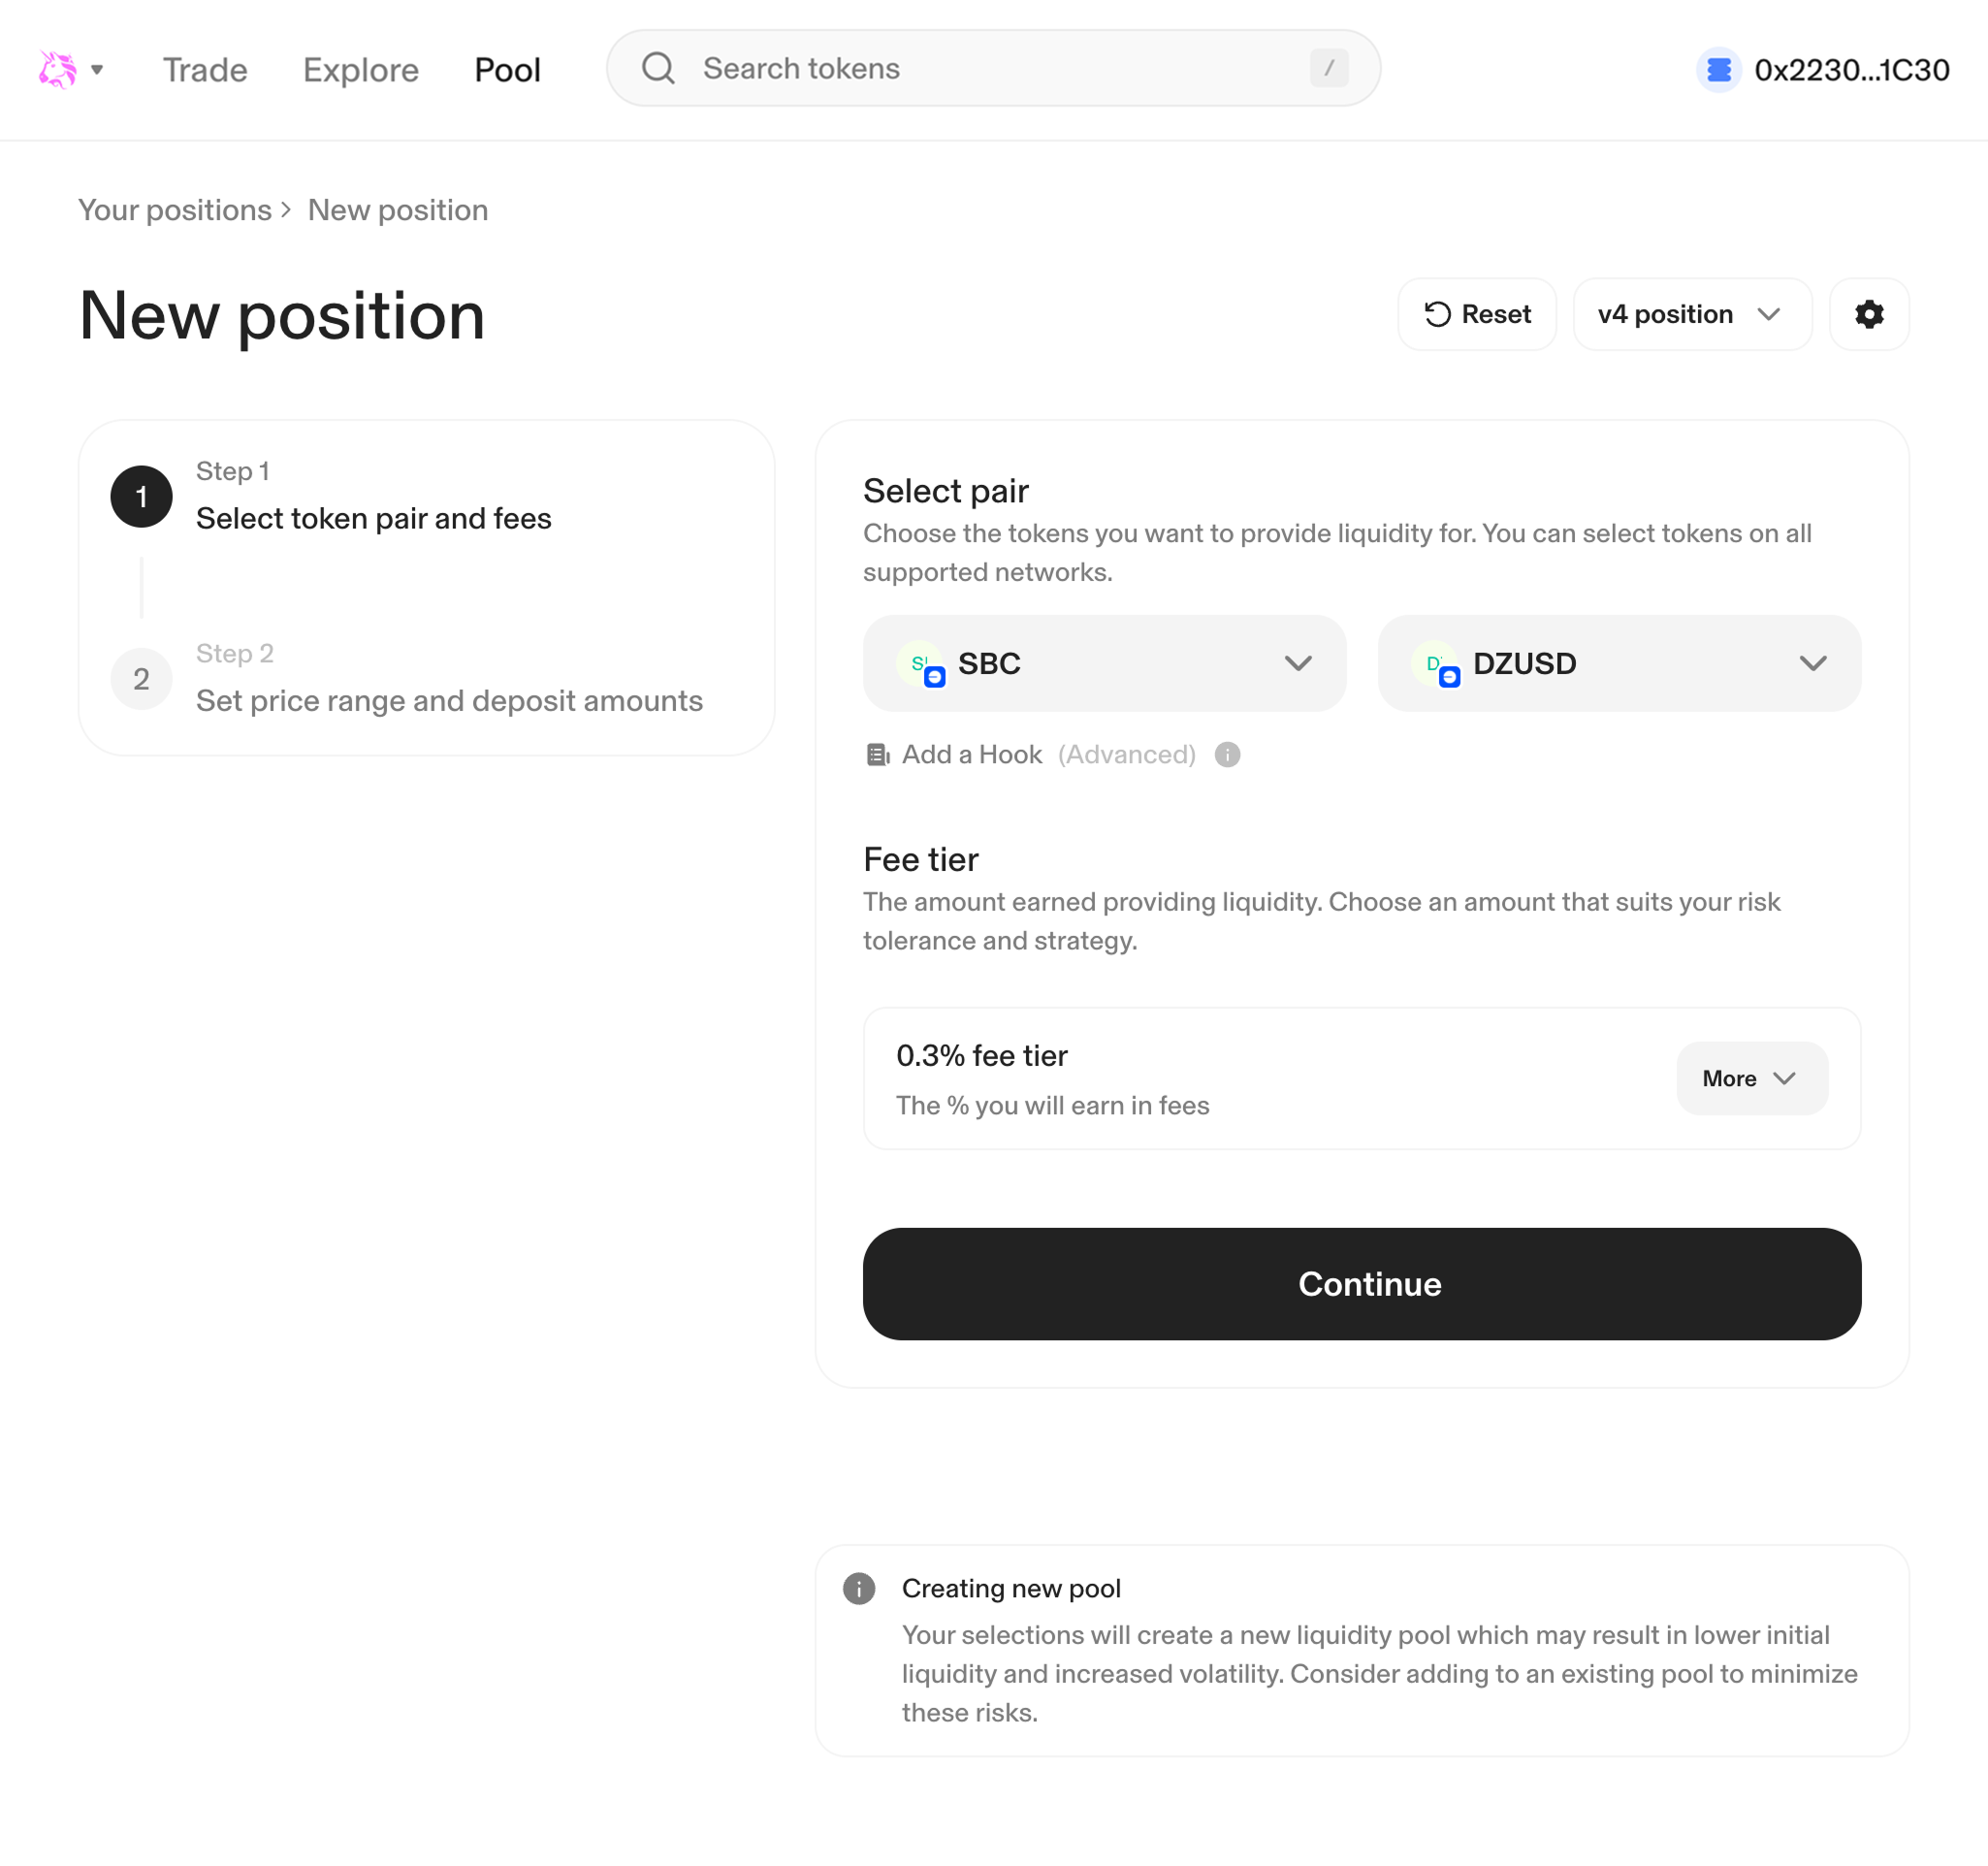
We recommend using a custom range when creating the pool and starting with a bottom and top price that is very close together. With small pools, there will always be some small deviation, and that's okay. In this example, we are setting up the pool with $100 SBC and $100 DZUSD, respectfully.
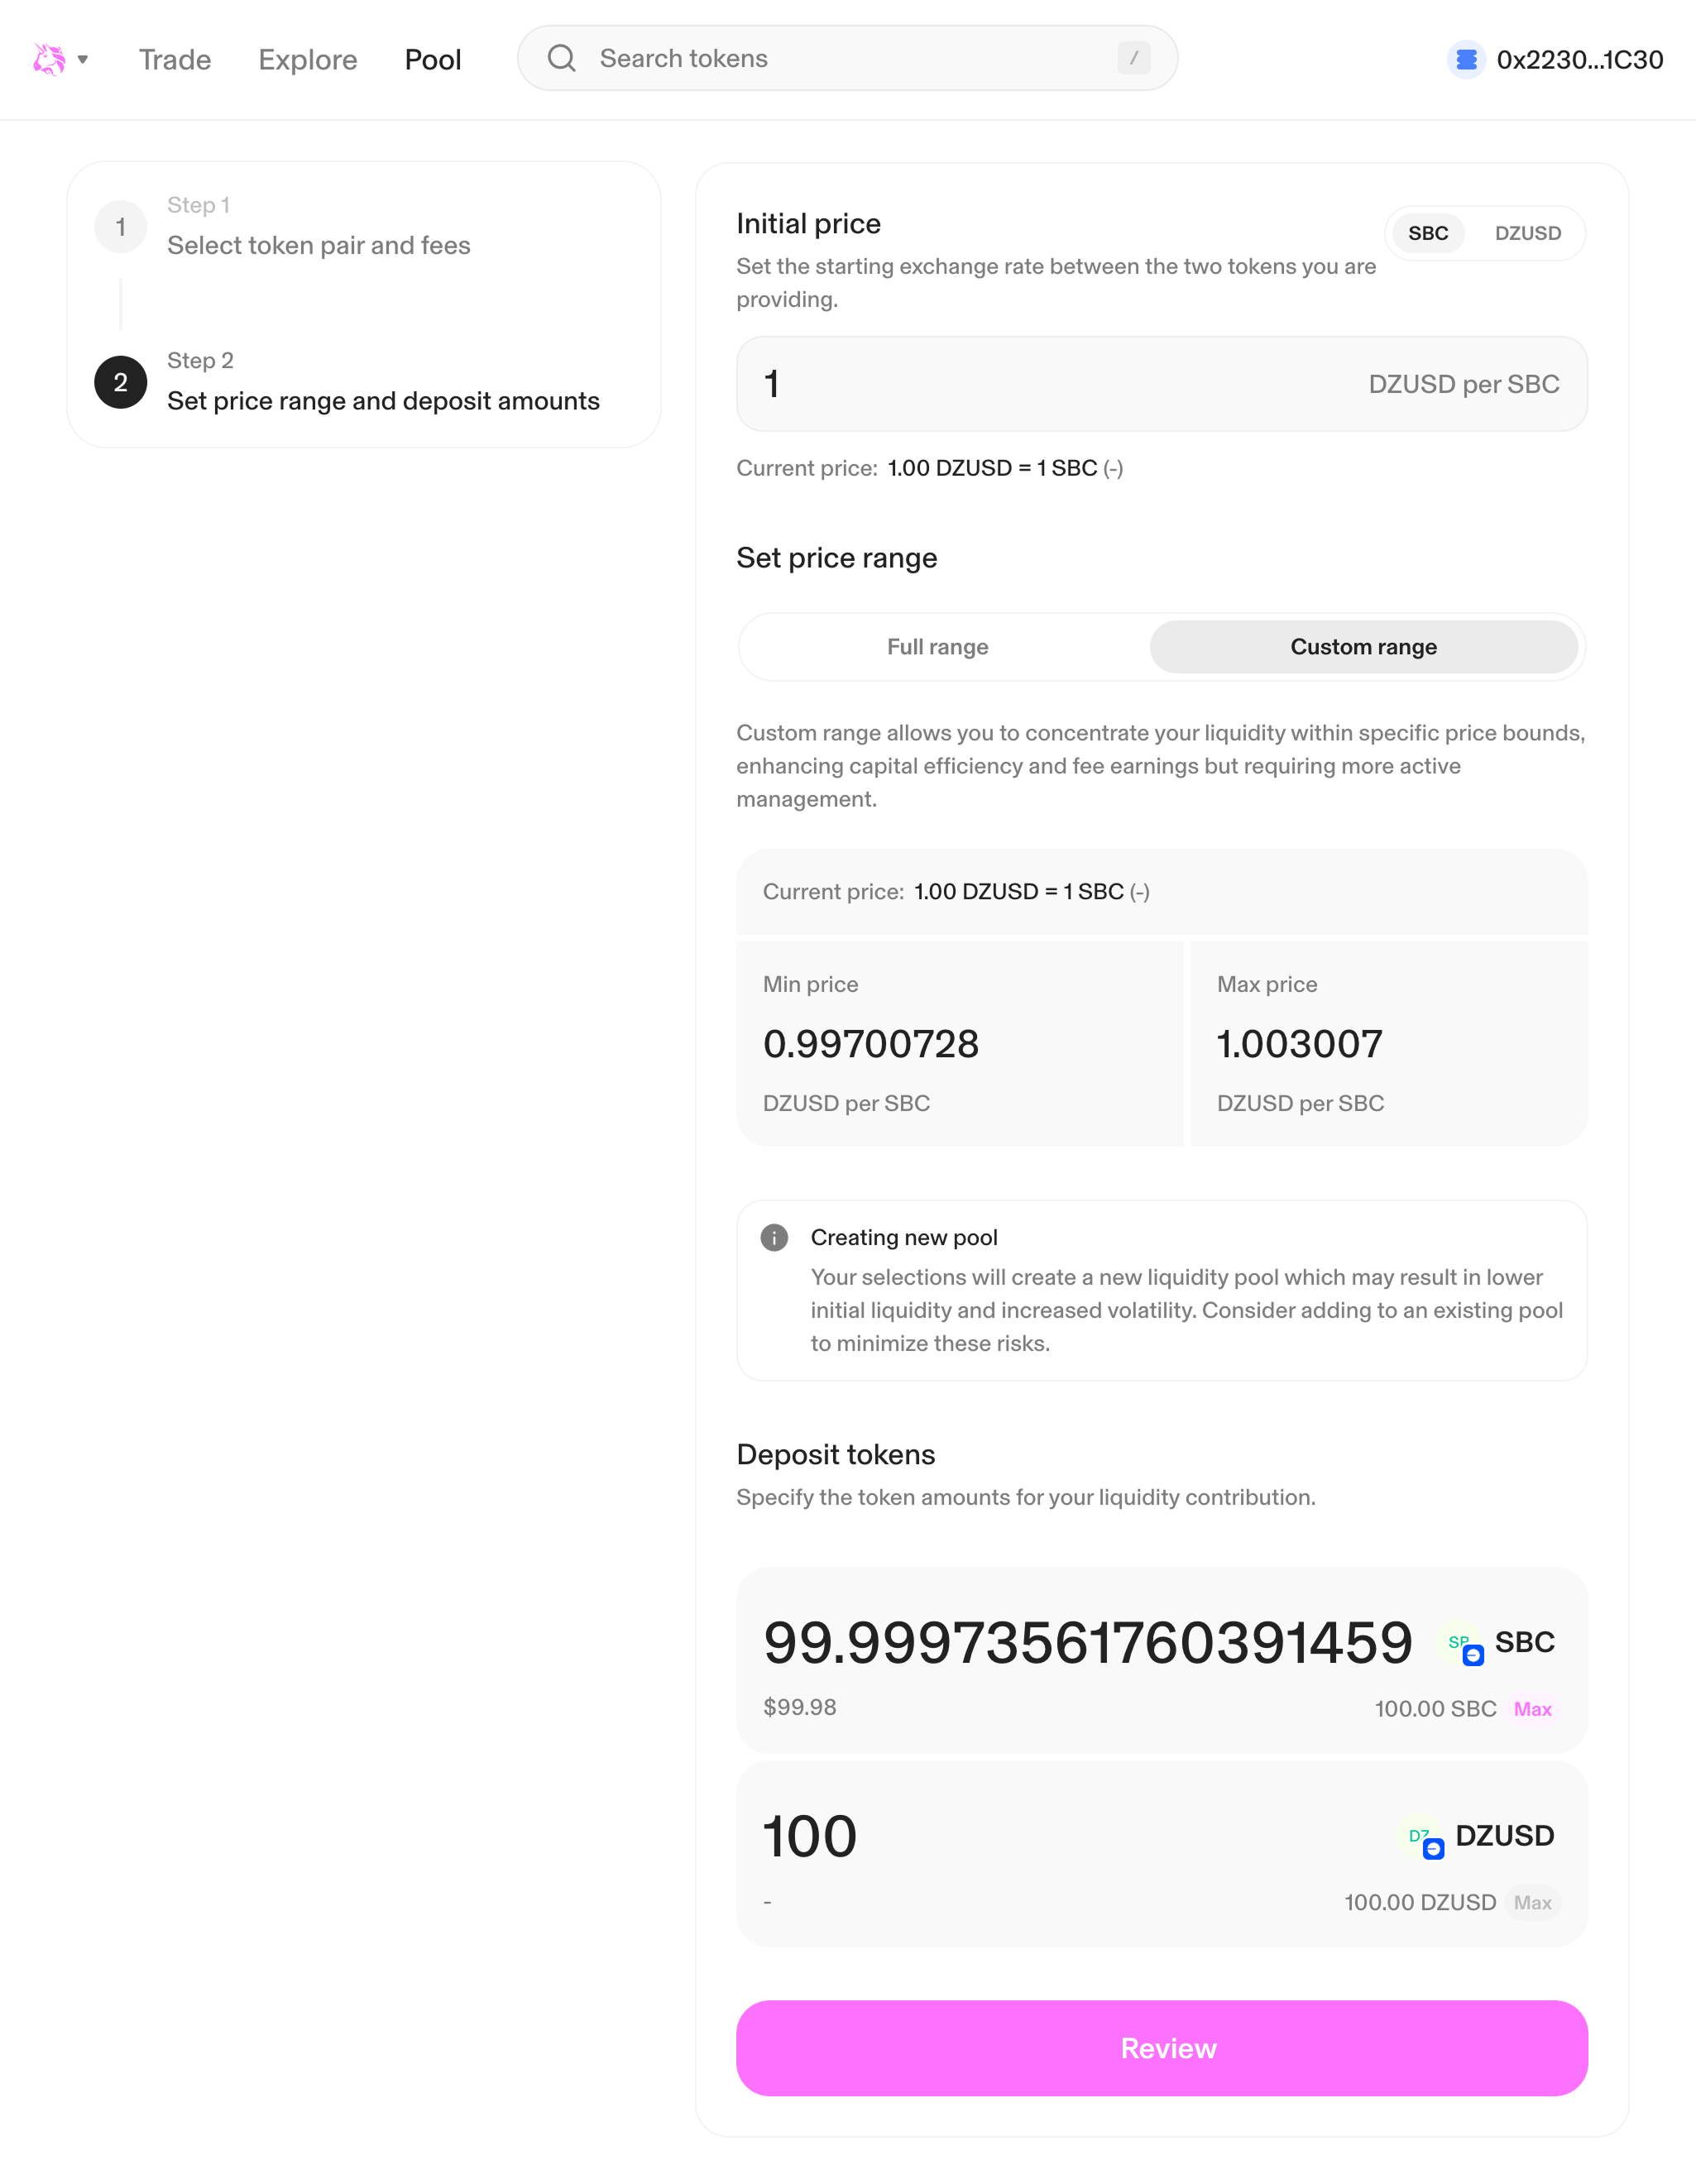

Click Review, sign the transaction, and you've got a pool set up. This enables the asset to be used with the other asset it's paired with through popular wallets.
Here is what this pool looks like on the block explorer and in the Uniswap UI.
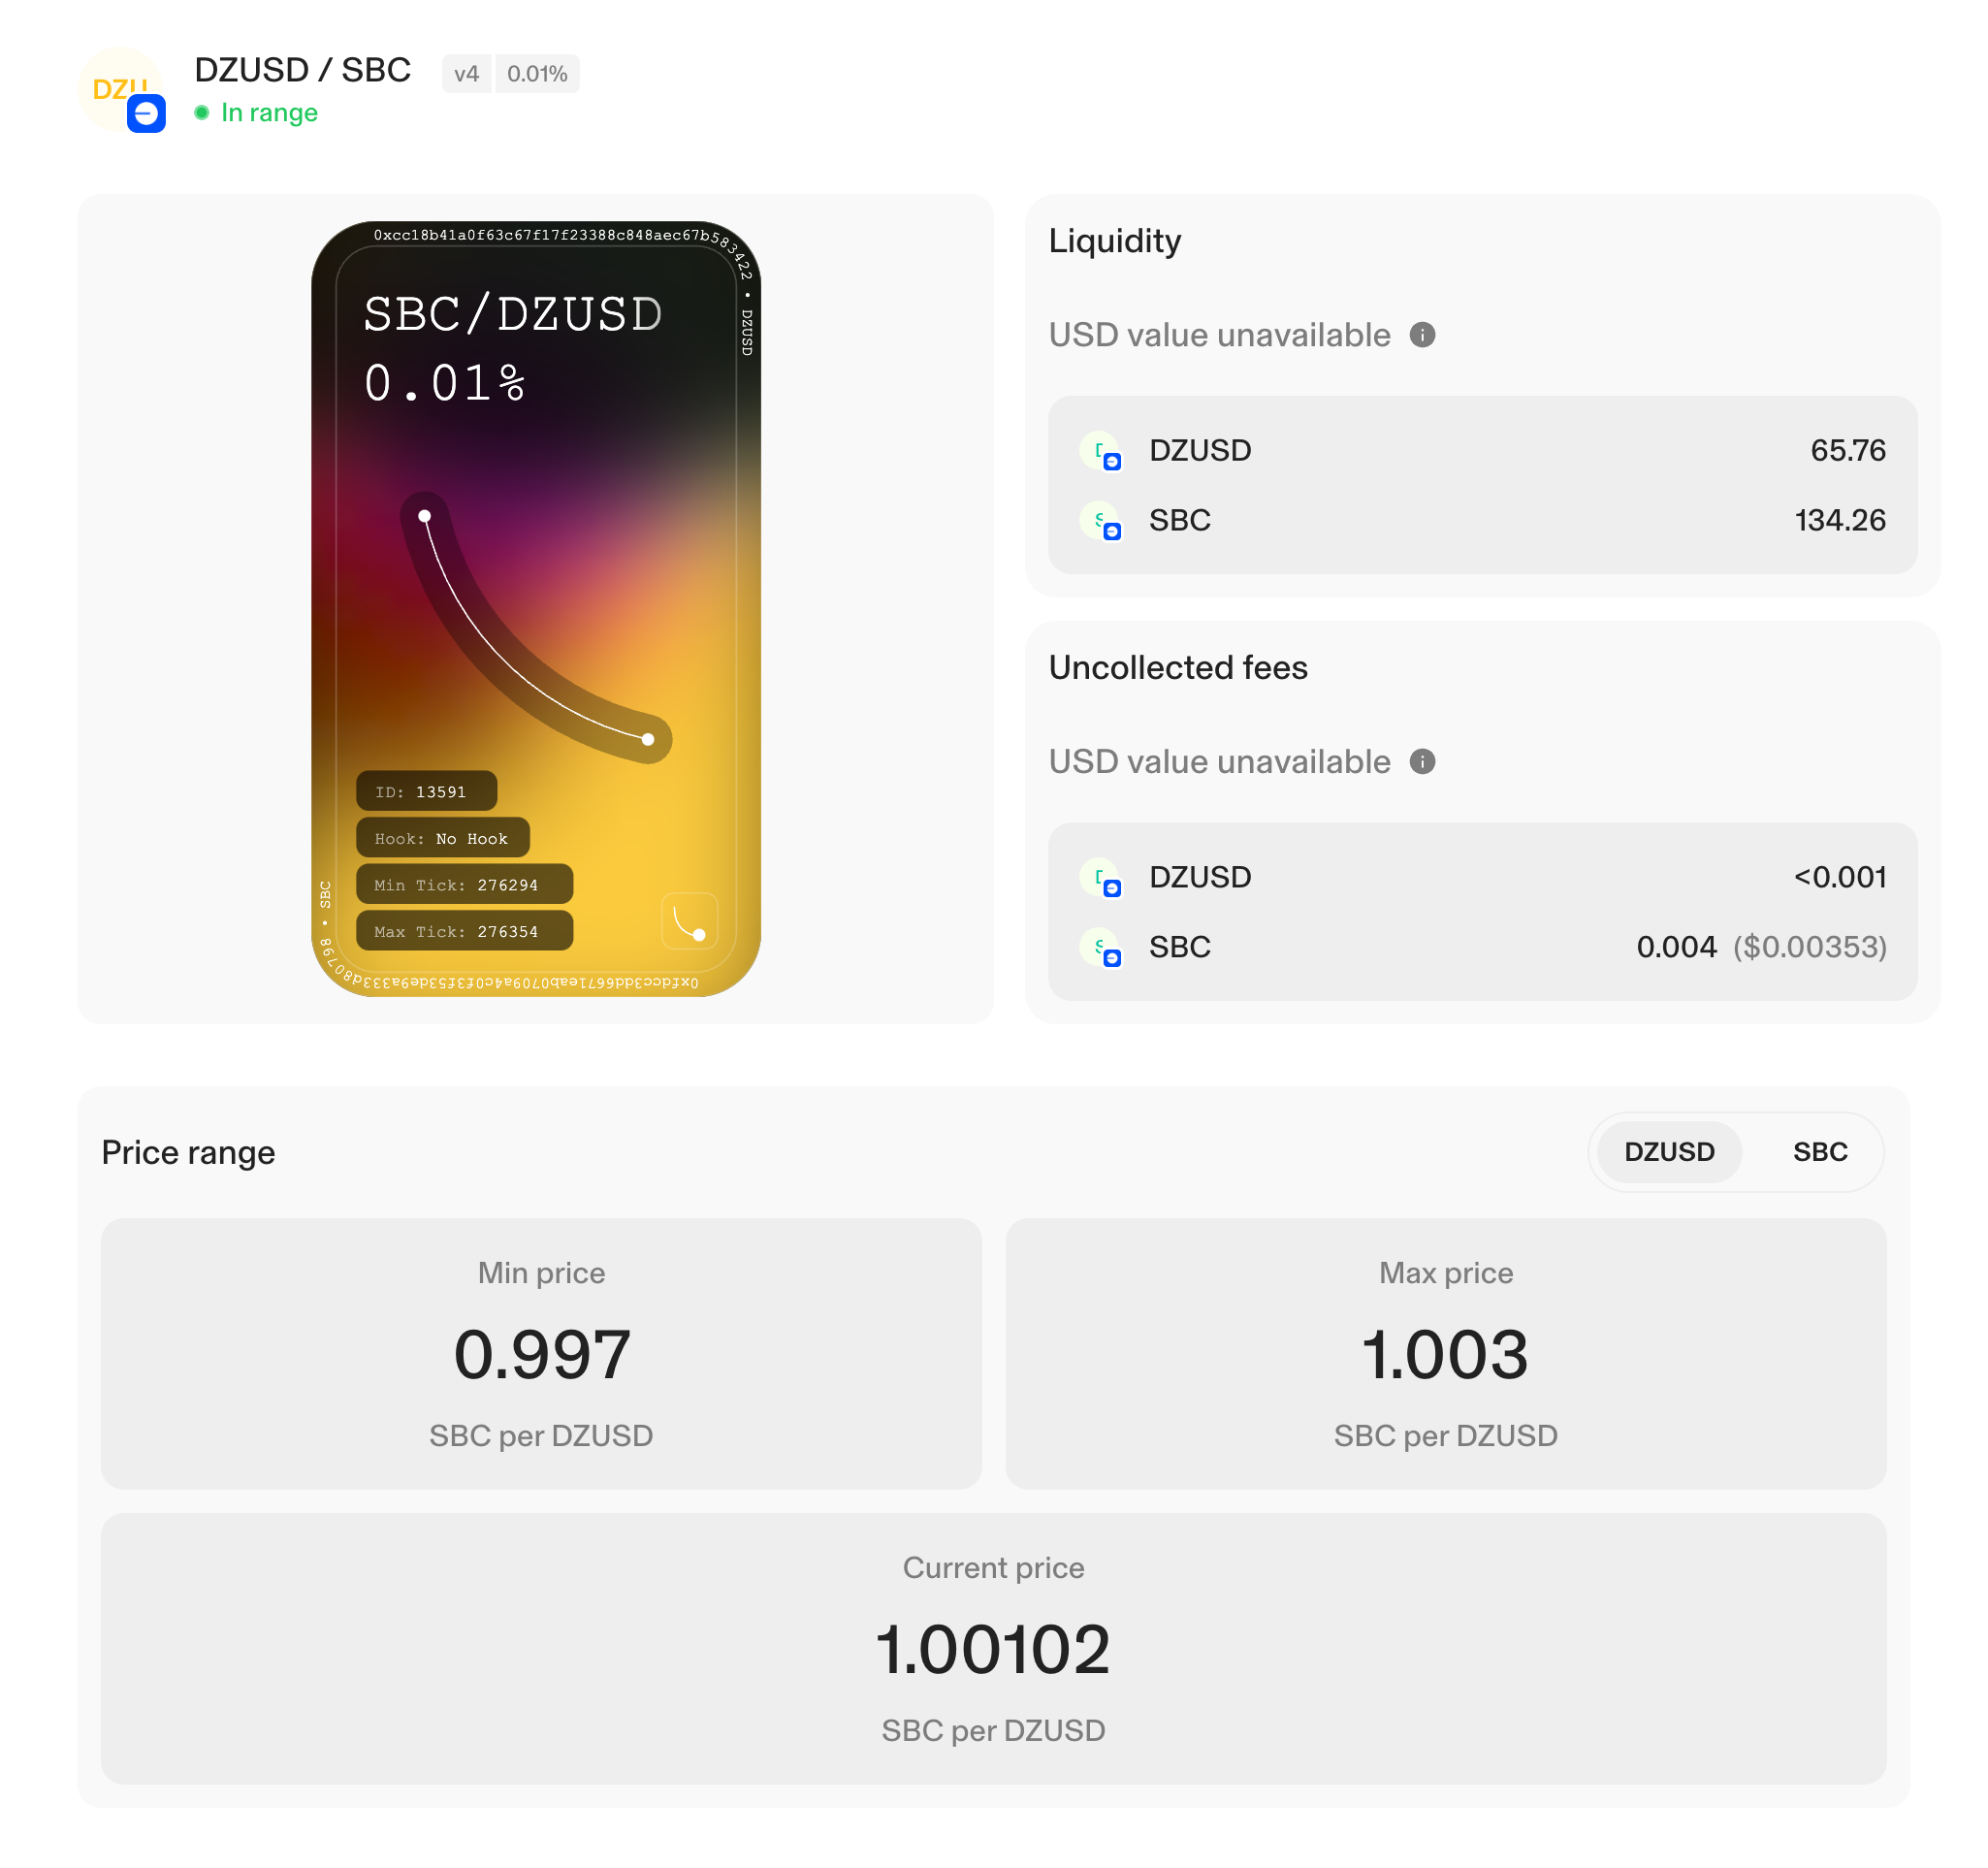
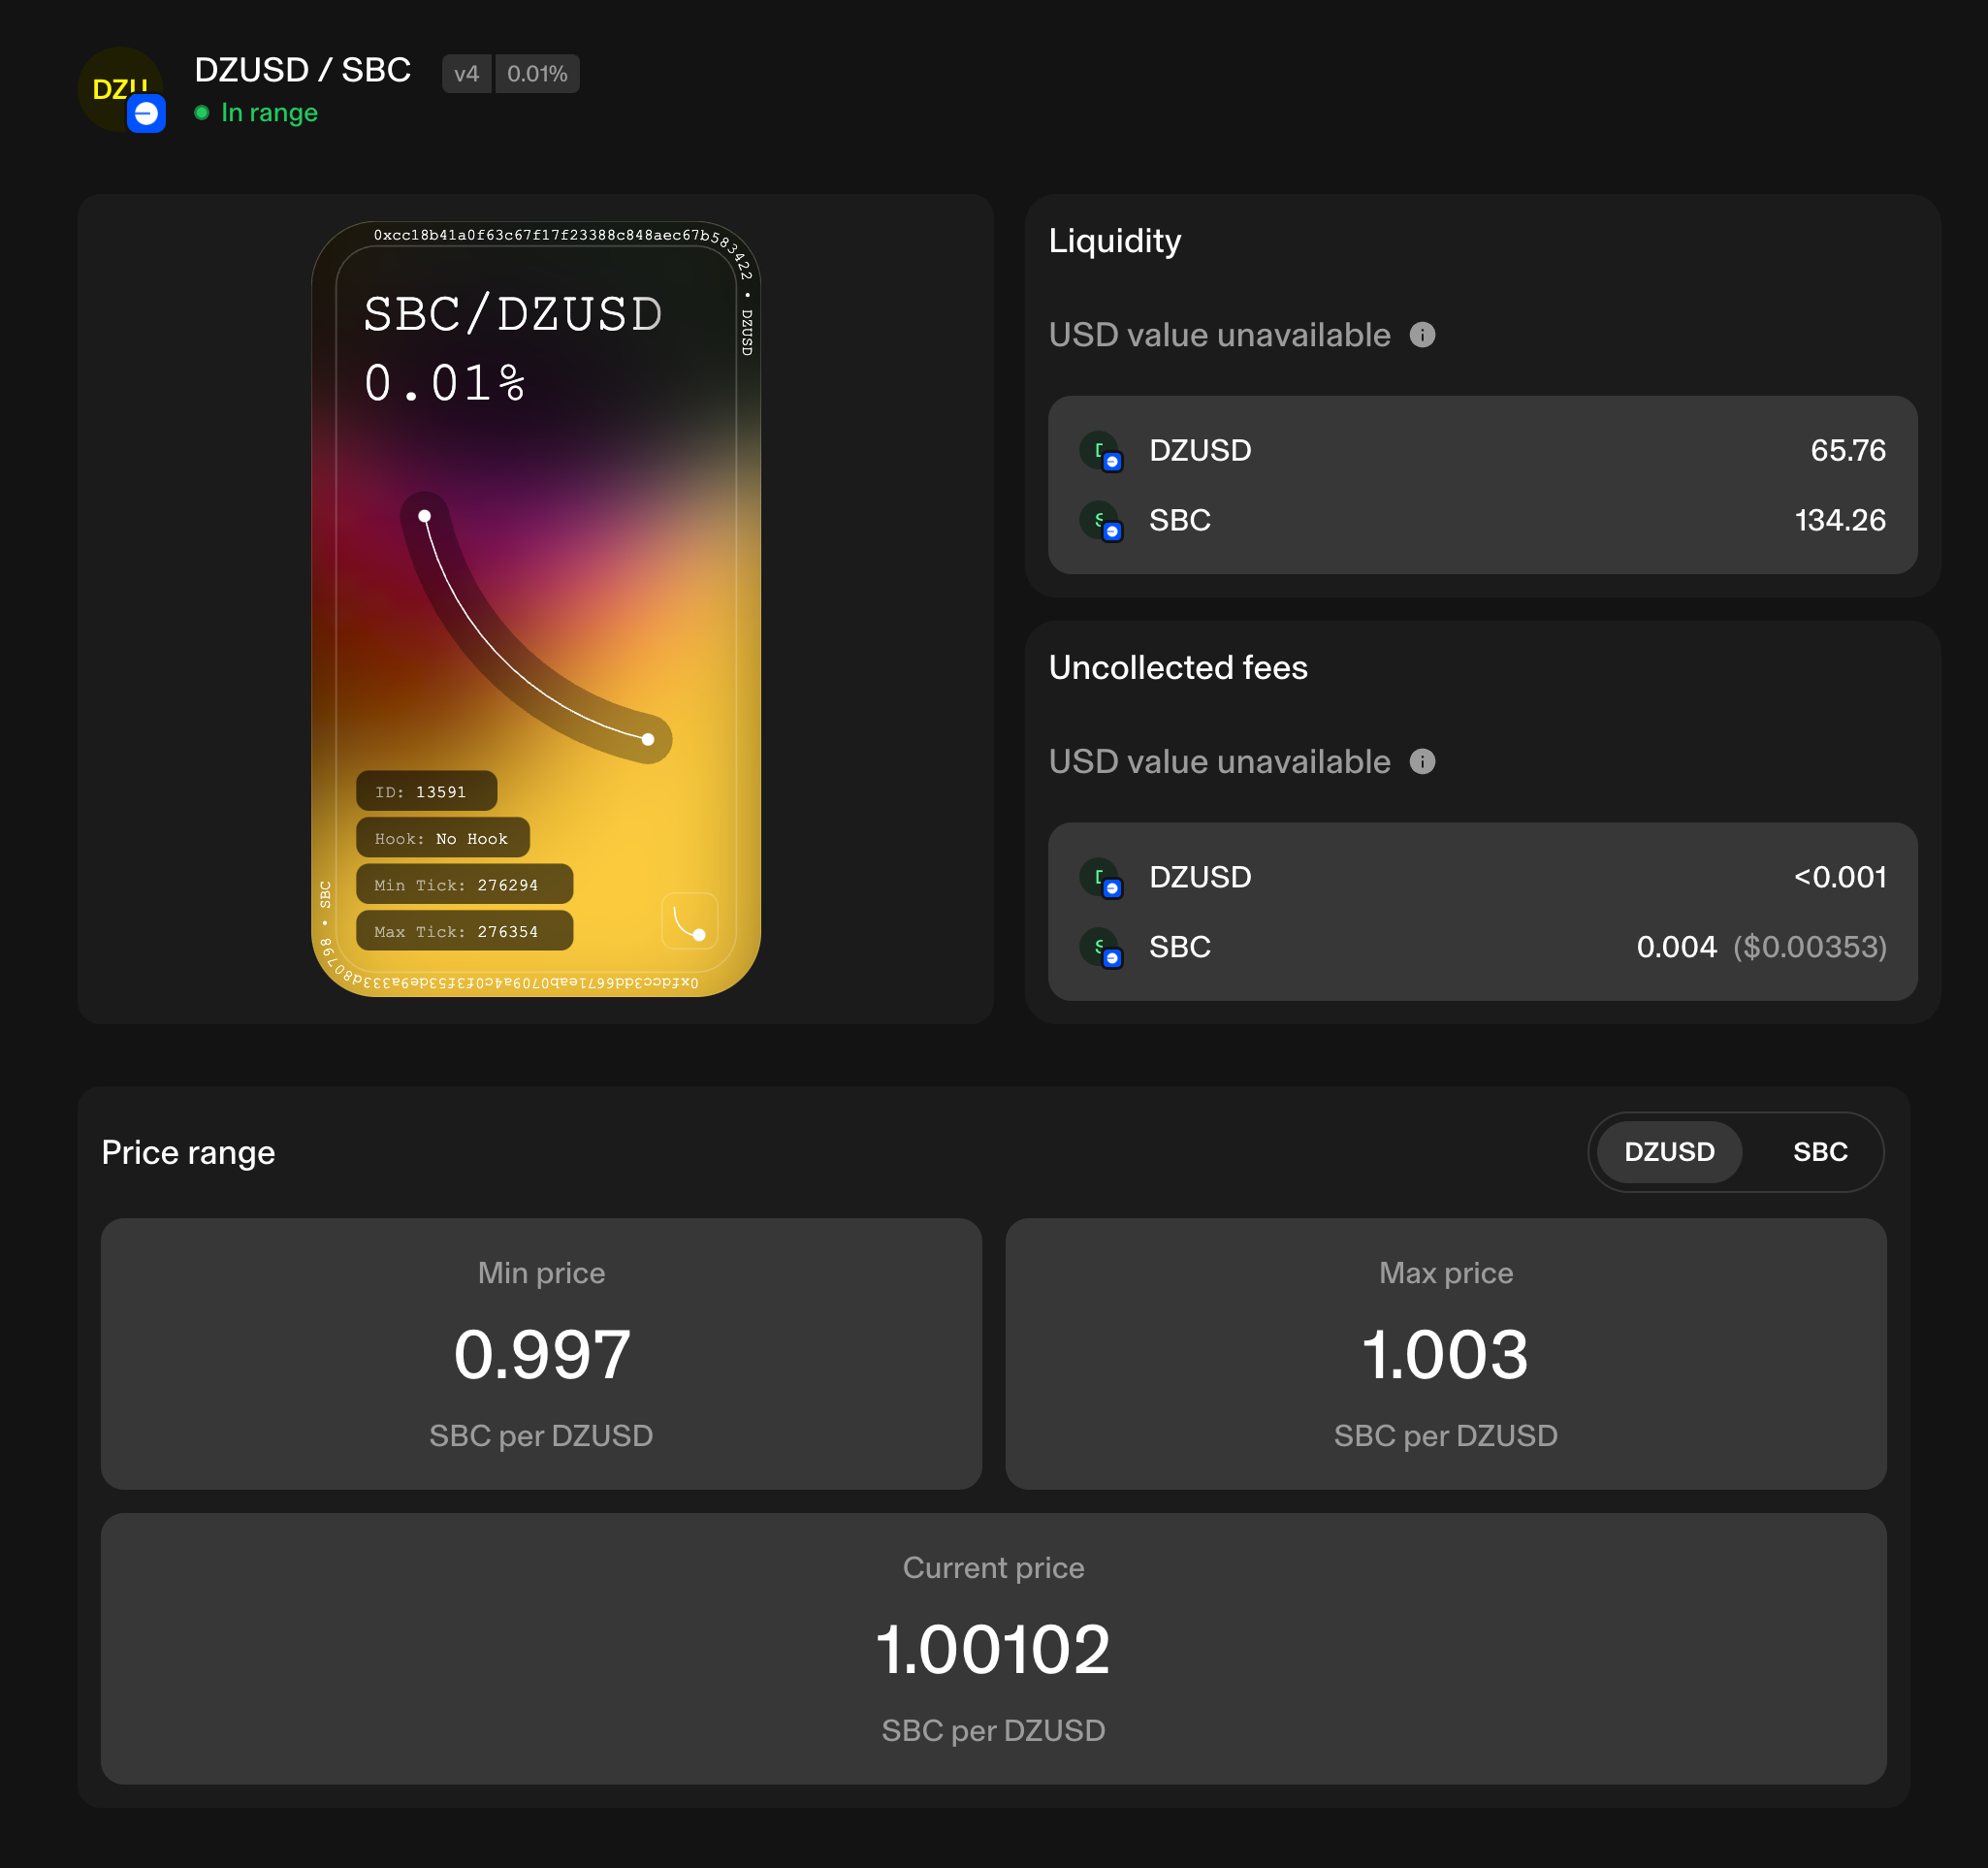
Why use SBC with your asset? The reason for this is twofold. The first is that SBC is already multichain, and there is a great deal of benefits. The second is that SBC is another bespoke project, and using it will help with your additional education in future learnings and guides. Because it is a custom stablecoin program, there is a lot to learn from using it. You can repeat this with USDC or any other asset you prefer. You can close the pools whenever you want when your testing is completed.
After those steps, you've created the stablecoin, set the logo for wallets to pick up, made your token list available for future testing, and created enough test liquidity to use your stablecoin in DeFi or in self-custody wallets.
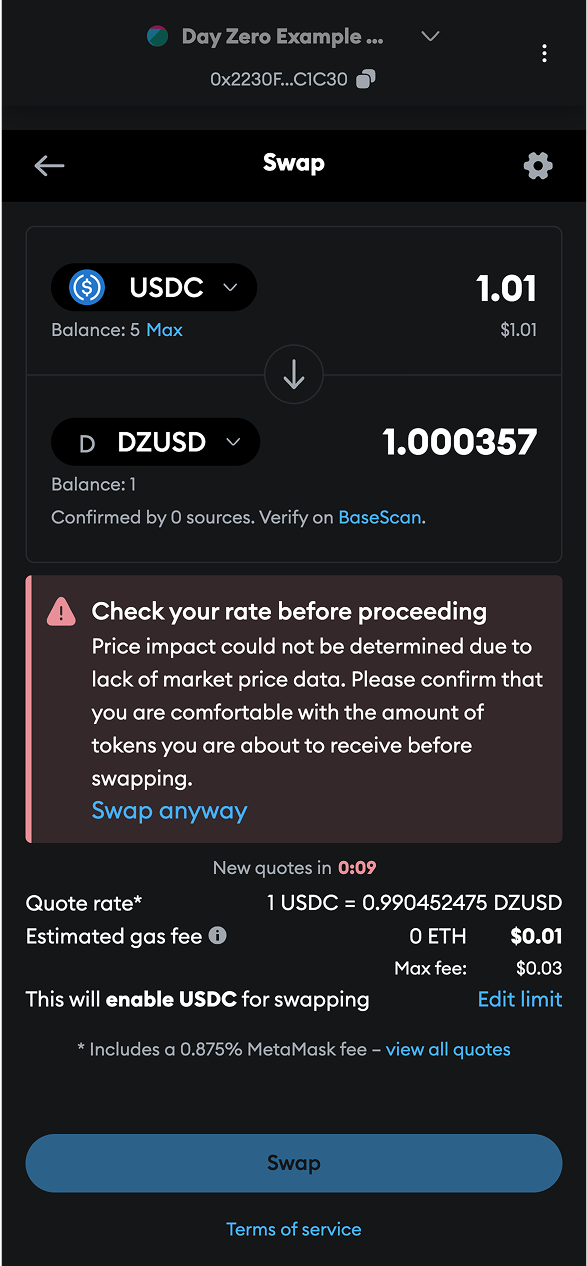
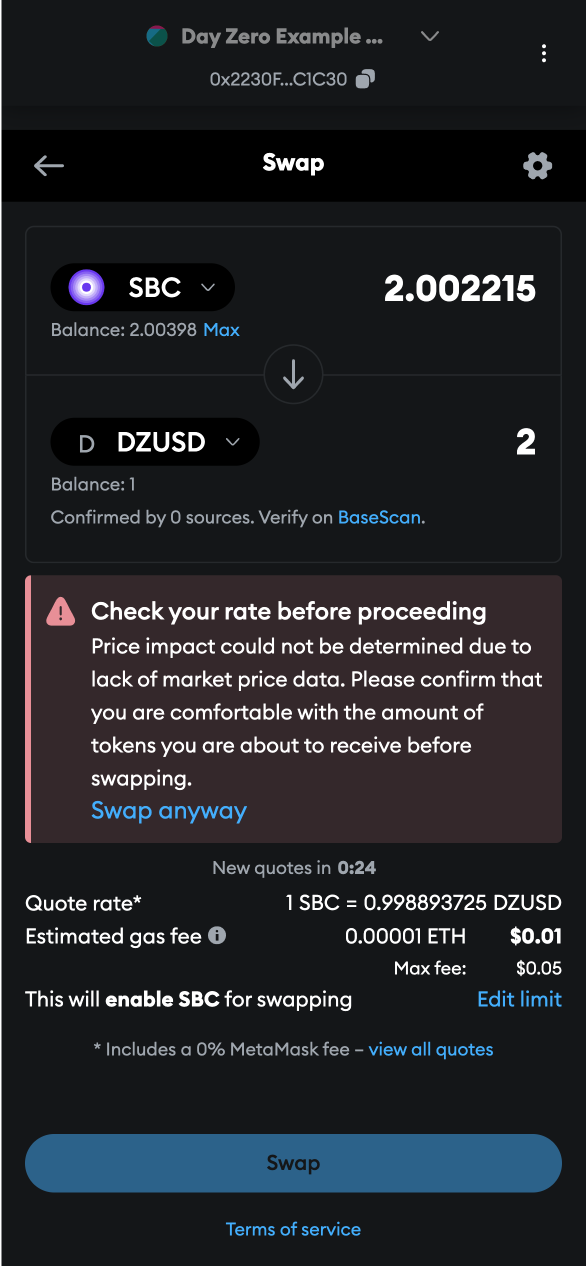
Start testing
Log into your Brale dashboard and transfer your new stablecoin to your external wallet. Then, you can begin using it. You can even try the swap function with USDC or other native gas tokens. You should see the asset working correctly in your wallet, supporting a swap, and even some activity.
We suggest just doing the good ol' dollar test. Move $1 worth of your new stablecoin to your wallet and test it. If using MetaMask, open the Swap tab and test your asset. Because the pool is so small, things will never be perfectly 1:1 in DeFi, but that's ok. You're just testing. We'll talk about how to solve this in future blogs. Once you select Swap, add your asset and decide how much to buy. Go ahead and test it with different assets.


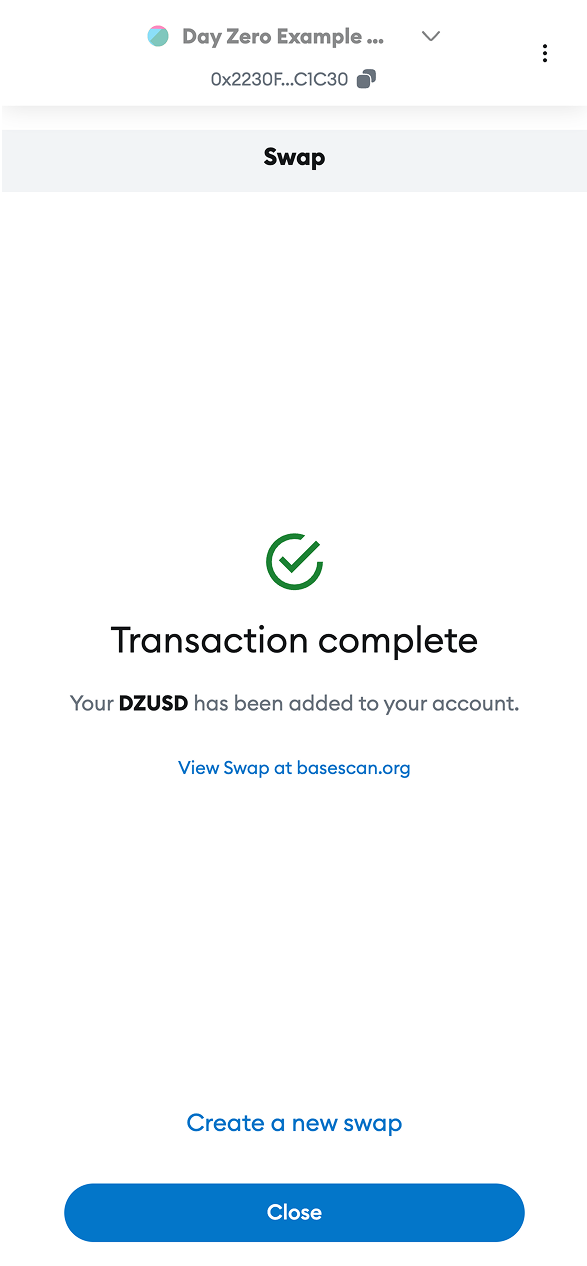
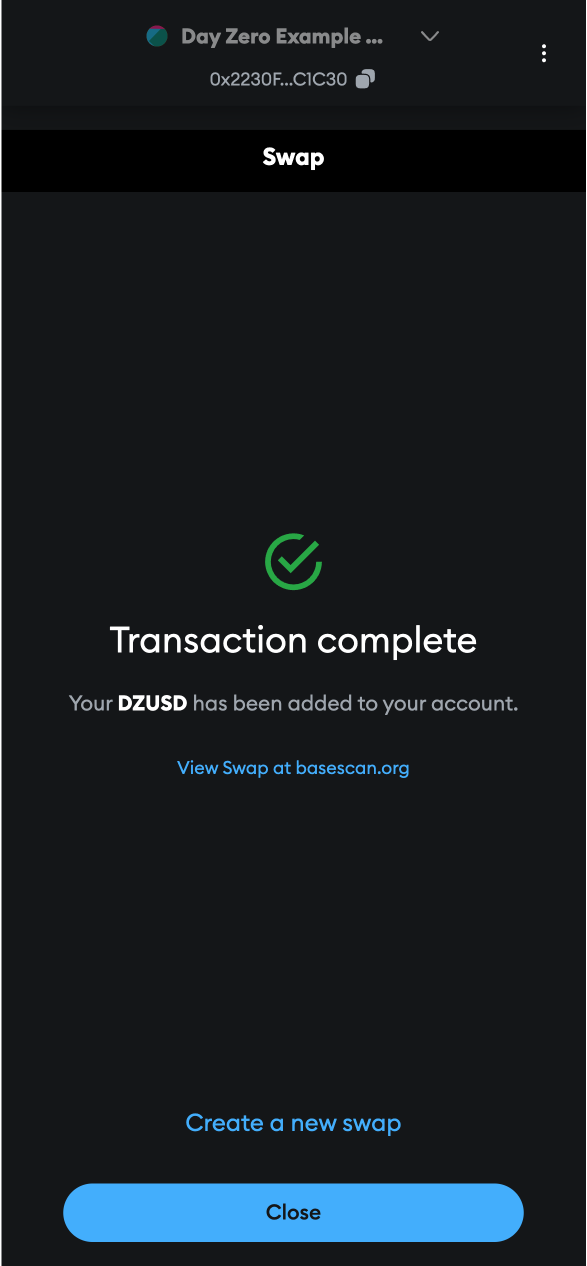
Congratulations. You've got a usable stablecoin 🙂 You're well on your way.
DZUSD is a demonstration stablecoin. It was created at Brale's Day Zero event, a virtual conference series for folks building with stablecoins. It's free to attend, and if this entry was helpful, there is a standing breakout helping people deploy and test their first stablecoins. You can sign up for free here if that would be useful to your project.
Create your own stablecoin
Contributors
- Ben MilneFounder & CEO
- Chase MerlinSr Product Manager


